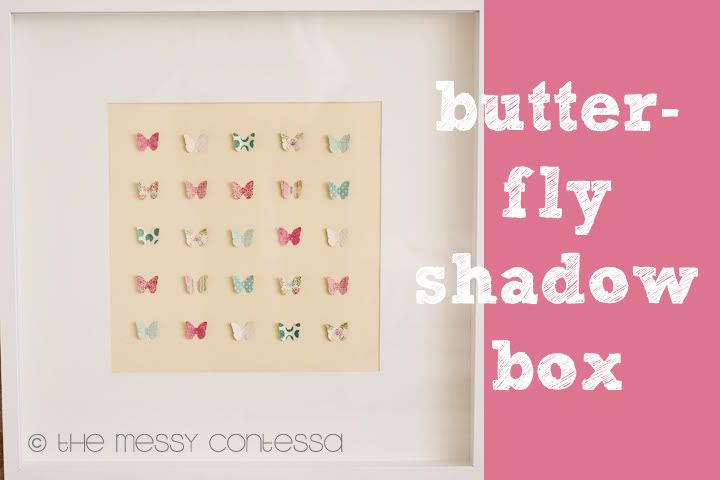
The first piece of wall decor for my girl's room in our new house. I am so pleased with how it turned out and I cannot wait to get it hung!
I've seen similar shadow boxes on Pinterest and Etsy and I think maybe even a catalog or two. None of them quite fit what I envisioned though.
Her room in our previous house had pink walls, white furniture, and pink & white bedding. My plan is to incorporate many more colors in her new space, including the green and blues on the butterflies. She's a big kid now (5 1/2!!) and her room needs to be able to grow with her. This butterfly art is sweet and girly without being babyish.
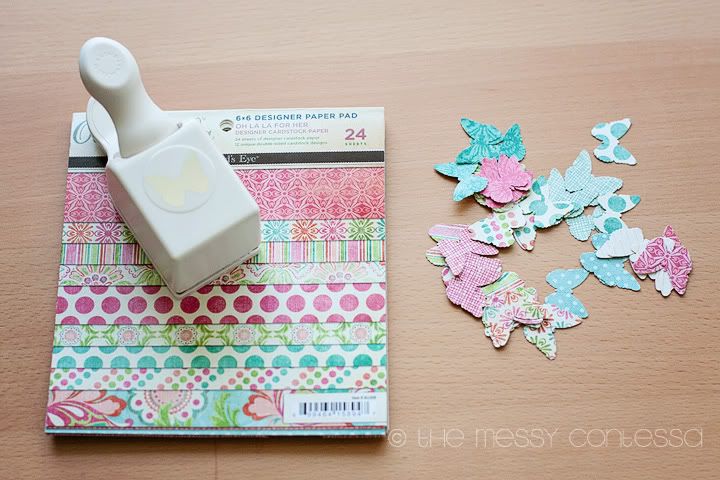
I used a coordinating paper pack from AC Moore and Martha Stewart Crafts classic butterfly punch.
I bought a 20" x 20" Ribba frame from Ikea that comes with a mat. The opening is 11.5" square so a 12" x 12" piece of scrapbook paper or cardstock is the perfect background.
I chose a pale yellow textured paper, also from AC Moore.
I marked all 4 edges of the paper in 1 inch increments.You won't see this since 1/4" of the paper will be hidden by the mat.
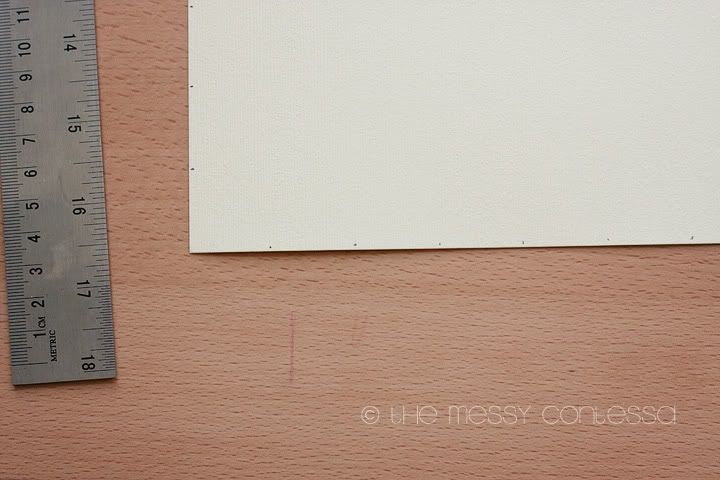
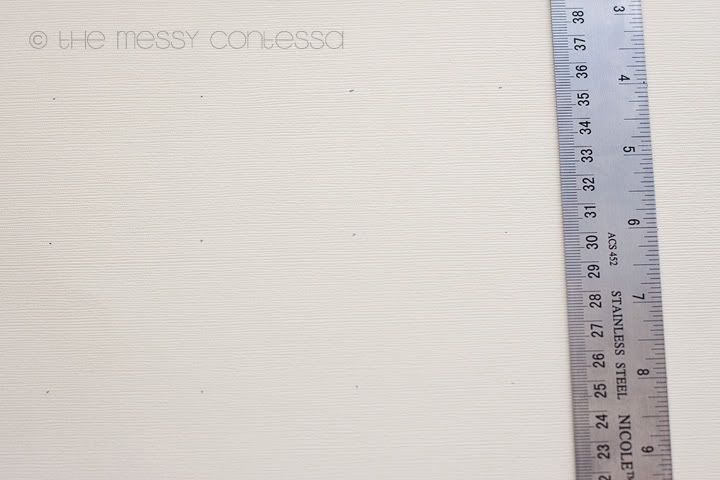
The marks along the edges will serve as a guide when I mark the spots for the butterflies. I started 2 inches from the top and the side and marked every 2 inches.
Time to glue down the butterflies! I knew I wanted the wings to be off of the paper so I was careful to only glue the very center of each. I like the Zig glue pen for things like this.
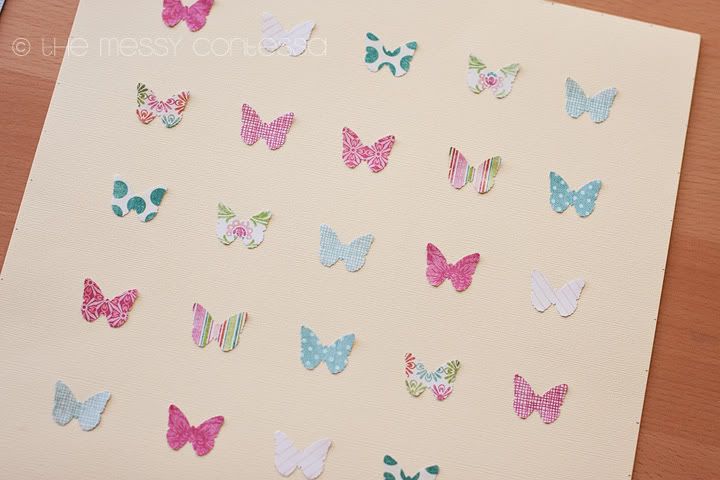
I let this dry for about 30 minutes before lifting the wings off of the page. I would suggest you attach your page to your frame's mat now if you're using one. I didn't wait and ended up flattening my wings when doing so.
The spatula for my Cricut was a perfect tool to lift the wings gently.
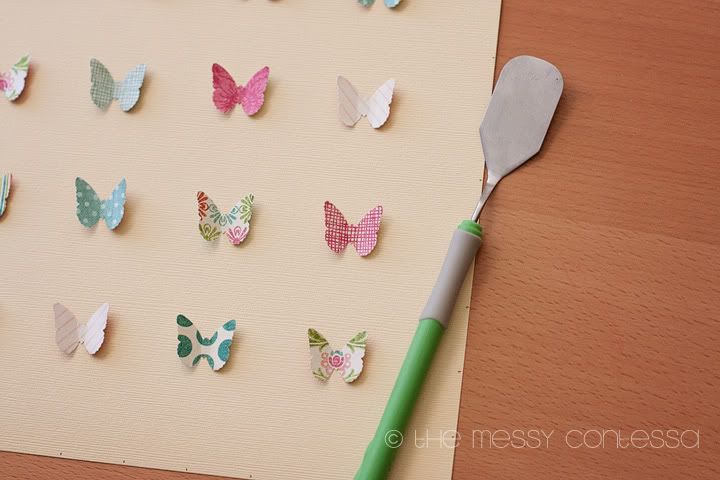
It's done and ready to go in the frame. I used small pieces of double-sided Scotch tape to attach the page to my mat. Yours should already be in the mat if you listened to me. ;)
Put it in the frame and you're done!
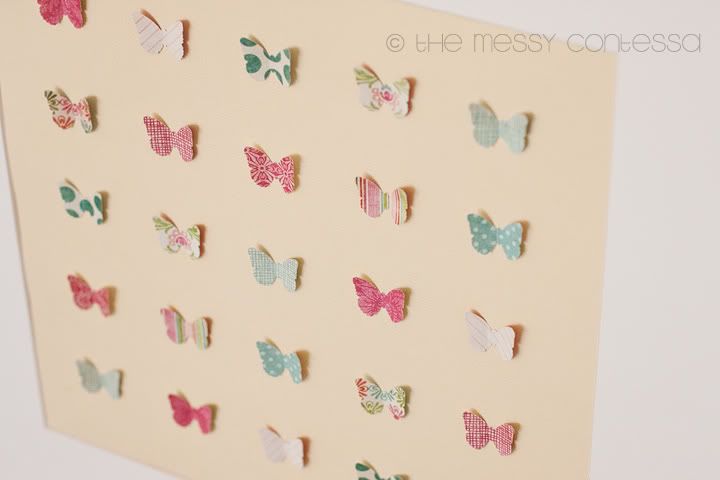
Photo of it hanging on the wall to come!

So cute! Thanks for the tutorial!
ReplyDeleteThanks! And you're welcome. :)
ReplyDelete