My first Keeper of the year. ♥
Peek-a-boo!
Thursday, January 3, 2013
Wednesday, January 2, 2013
Happy New Year!
Boy I've been a slacker!
I spent the last 3 months of the year so busy with family, homeschooling, travel, and life. It left little time to organize anything for the blog despite there being tons of content stemming from the aforementioned busy days.
I love the new year. A fresh page or an entirely new book, depending on how you look at it. Even though I don't love the stigma that comes with the word "resolutions," I do enjoy focusing on some changes every January 1st. We could all use some improvement in different areas of our lives and selves, can't we? I know I certainly can.
As a mother, I am faced with the reality of how fast time truly does fly. Whether we are having fun with our young ones or feel like we're drowning in the trenches, these days are fleeting and it seems to only be gaining momentum as my babies get older.
One of the changes I'd like to impart is to document more. I tried (and failed!) more than once to complete a Project 365. Pretty sure I couldn't even have claimed completion on a Project January. Haha!
A dear friend, who shares the same affection for a new year, and I were recently talking about taking on another photo project. To challenge ourselves, together. But instead of being a Project Anything, I'm calling it my Keeper-A-Week.
Seems less intimidating, doesn't it? I guess it's technically a Project 52 but just staring down the barrel of fifty-two expected photos seems daunting. I'd like to think that I can handle a week at a time.
Just one little photo that I would call a keeper. It doesn't have to be astoundingly creative or technically perfect. Just something that I love enough to keep.
I'm not going to list my other "resolutions" right now. There have been many ideas and possibilities floating around in my head during the last few days of the year but I'd like to feel them out and see which ones are going to stick. If anything is worth it, I'll share.
So here's to a Keeper-A-Week!!!
Thursday, August 30, 2012
This little girl...
...is not so little anymore. She's almost six and will be starting kindergarten next week. Fortunately, she'll be homeschooled so it won't be a major transition for us.
She has matured so much this summer. She acts older, sounds older, just plain looks more grown up. Before I know it, I'll be looking through the viewfinder and watching her blow out six candles. I swear it feels like I was doing the same thing with one lonely candle just a few weeks ago. Where has the time gone?
Wednesday, June 6, 2012
Our Summer Fun List
Ah, summah time. I love the long days and endless activities to choose from. Even though I am at home with my kids and we don't have school and work schedules to contend with, I still enjoy the slow pace of the season.
I've seen Summer Lists all over the 'net, especially on Pinterest. The kids and I have been talking about what we want to add to ours for about a week and I finally compiled it all last night.
Without further ado....
It's going to be a great summer!
This will be laminated and put on our fridge. I've also seen lists that are done on chalkboards (that wouldn't last a day in this house!) or in a picture frame so you can just mark it off with a dry-erase marker. Another cute idea is to write your activities down on pieces of paper, fold them up and toss them in a jar and choose that way.
Have you made your summer list yet? Don't forget indoor activities for rainy days. :)
And document it as a summer souvenir. Our last square reads "make a summer photo book." This will include our list and photos of all the fun!
Have a happy summer!!
Tuesday, June 5, 2012
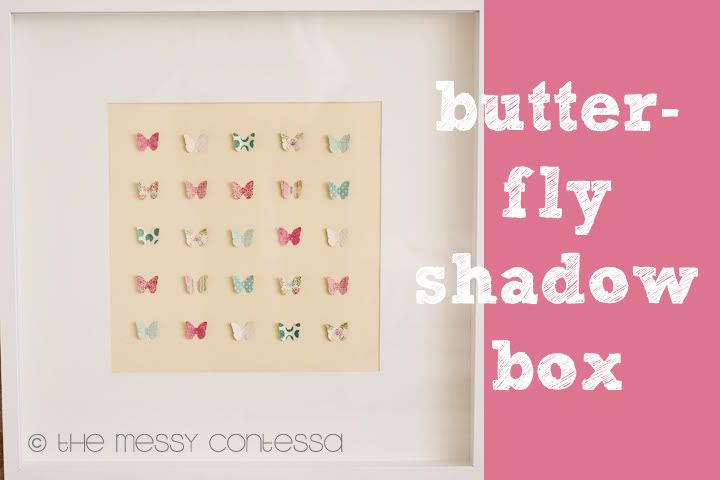
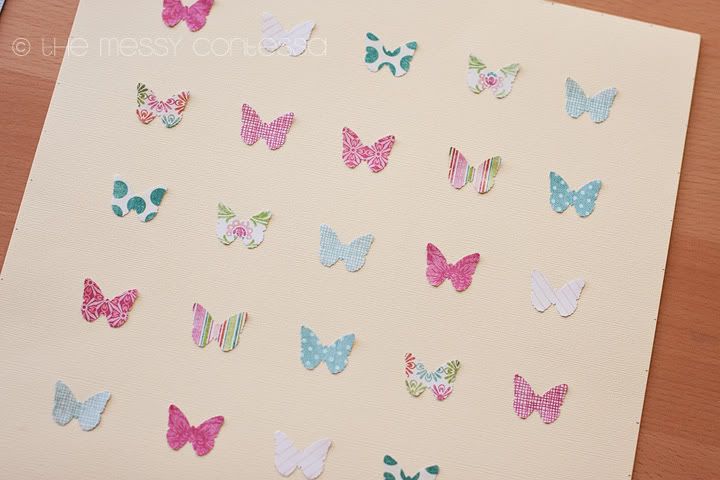
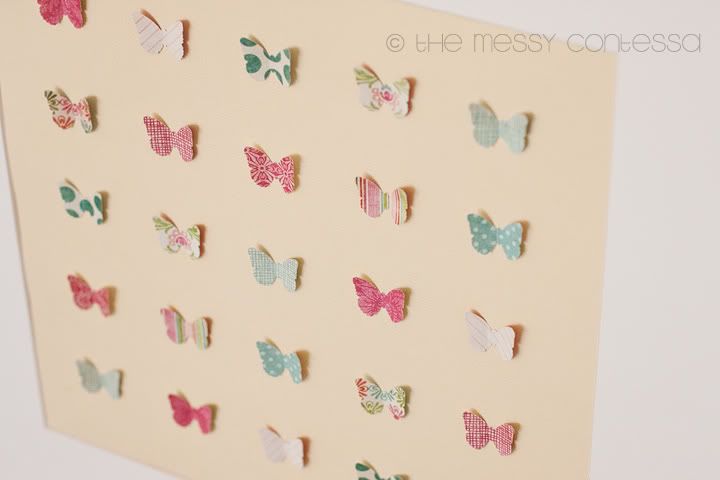
DIY Butterfly Shadow Box - DIY home decor, DIY kids wall decor
The first piece of wall decor for my girl's room in our new house. I am so pleased with how it turned out and I cannot wait to get it hung!
I've seen similar shadow boxes on Pinterest and Etsy and I think maybe even a catalog or two. None of them quite fit what I envisioned though.
Her room in our previous house had pink walls, white furniture, and pink & white bedding. My plan is to incorporate many more colors in her new space, including the green and blues on the butterflies. She's a big kid now (5 1/2!!) and her room needs to be able to grow with her. This butterfly art is sweet and girly without being babyish.
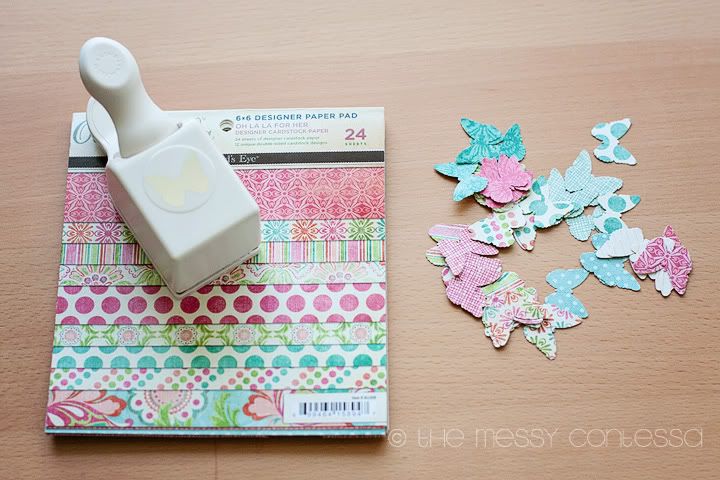
I used a coordinating paper pack from AC Moore and Martha Stewart Crafts classic butterfly punch.
I bought a 20" x 20" Ribba frame from Ikea that comes with a mat. The opening is 11.5" square so a 12" x 12" piece of scrapbook paper or cardstock is the perfect background.
I chose a pale yellow textured paper, also from AC Moore.
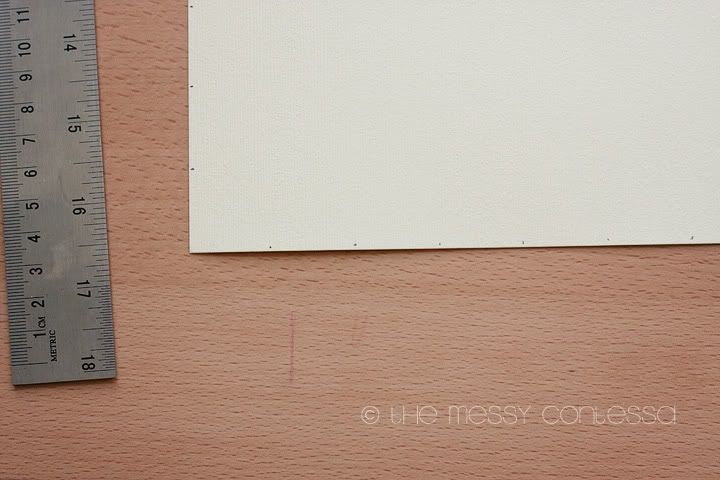
I marked all 4 edges of the paper in 1 inch increments.You won't see this since 1/4" of the paper will be hidden by the mat.
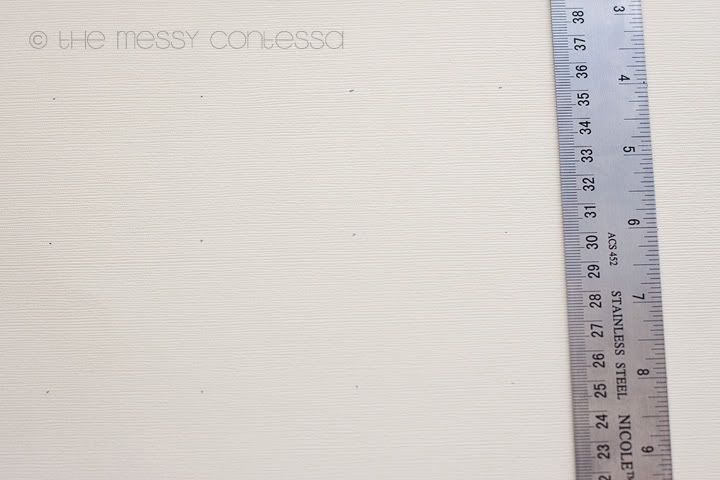
The marks along the edges will serve as a guide when I mark the spots for the butterflies. I started 2 inches from the top and the side and marked every 2 inches.
Time to glue down the butterflies! I knew I wanted the wings to be off of the paper so I was careful to only glue the very center of each. I like the Zig glue pen for things like this.
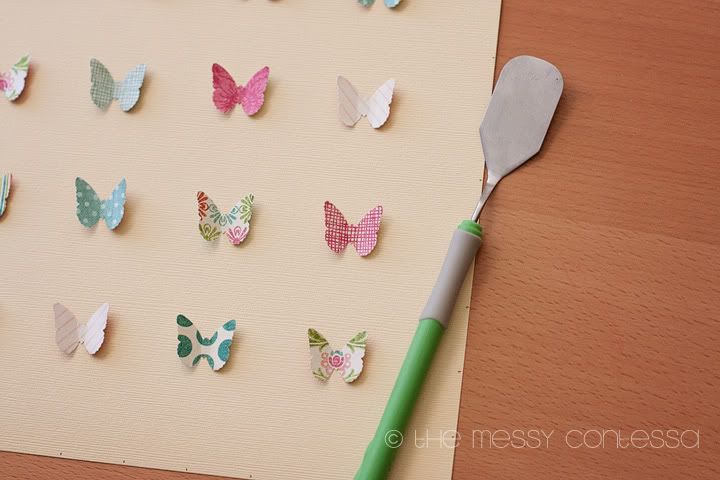
I let this dry for about 30 minutes before lifting the wings off of the page. I would suggest you attach your page to your frame's mat now if you're using one. I didn't wait and ended up flattening my wings when doing so.
The spatula for my Cricut was a perfect tool to lift the wings gently.
It's done and ready to go in the frame. I used small pieces of double-sided Scotch tape to attach the page to my mat. Yours should already be in the mat if you listened to me. ;)
Put it in the frame and you're done!
Photo of it hanging on the wall to come!
Thursday, May 24, 2012
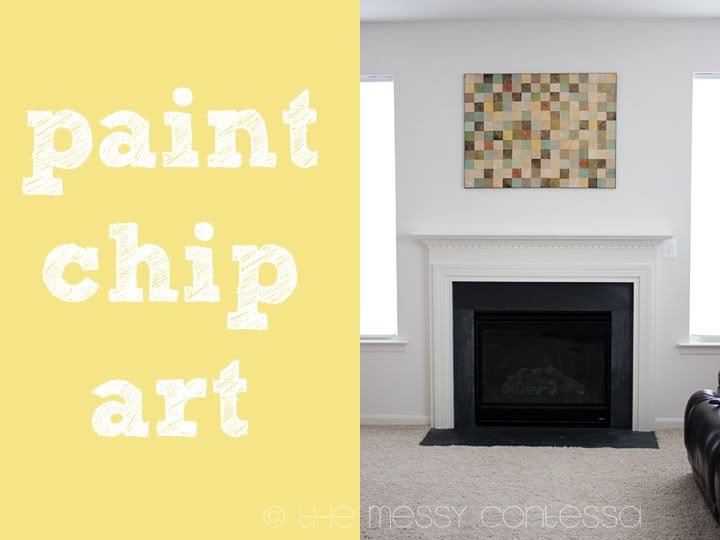
DIY Paint Chip Art - DIY home decor, DIY wall decor
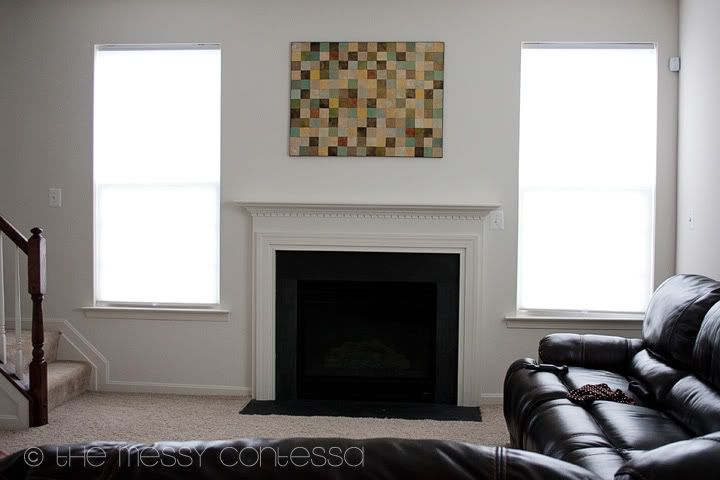
The idea for this art came from a tutorial that I found on Pinterest. I knew I wanted something large to hang over the mantle in our new house. The blogger who inspired me used a wood board but I had to switch it up to fit my needs. The need being something to cover the cable jack and power outlet that are on the wall over the fireplace. (I didn't want our flat screen mounted there, much to my husband's dismay.)
Instead of using a flat board, I bought a 40x30 canvas from Michael's. The depth of the underside of the canvas covered the jack & outlet perfectly.
If you are hanging this on a flat wall, I'd suggest using the board. It was difficult to get the paint chips to stay flat on the canvas because the canvas is flexible.
I went with the middle-grade canvas, not the student or the pro. After my coupon, it was about $8.00.
You will need:
canvas or board, in your choice of size
paint chips - lots (sorry Home Depot!)
spray adhesive
acrylic paint for edge of board or canvas
mod podge
wood stain
acrylic paint in metallic color for finish
brushes & sponges
A way to hang your original masterpiece. My hubby picked up a picture hanging kit at Home Depot and we used the eye hooks and wire.
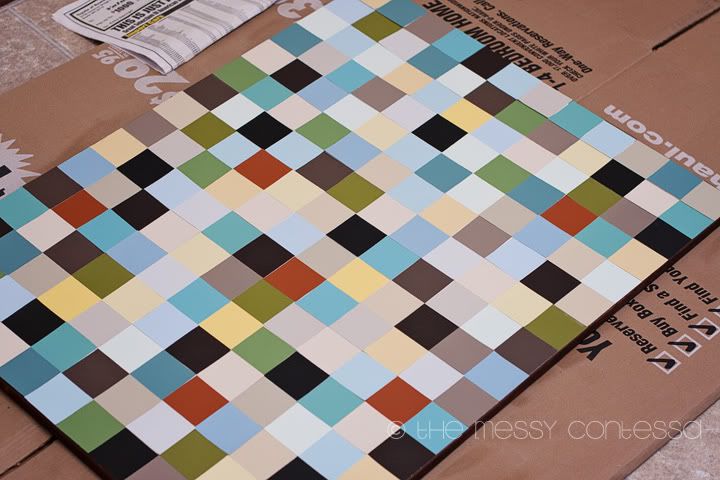
I chose a variety of colors for my paint chips and trimmed them to 2.5" squares using a simple paper cutter like this one. Then I laid them out on my canvas in a pretty random order. I didn't want a pattern but I also tried to avoid clusters of the same color.
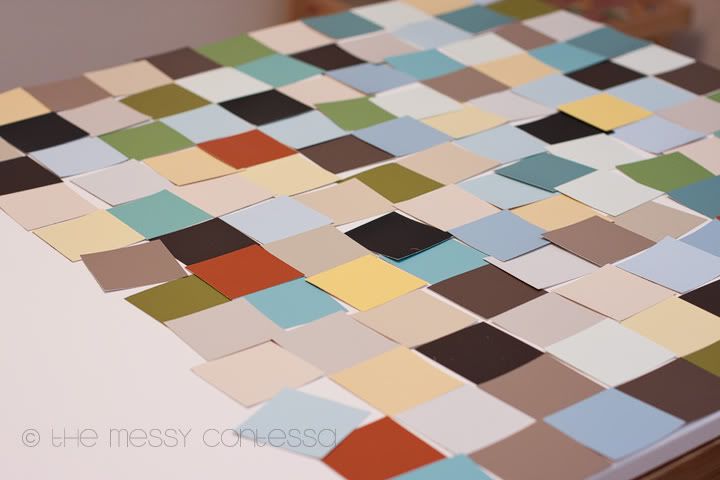
Then I very carefully picked the chips up in the order I had them arranged and put them aside.
I didn't want the edges of my canvas to be white so I chose a dark brown acrylic paint.
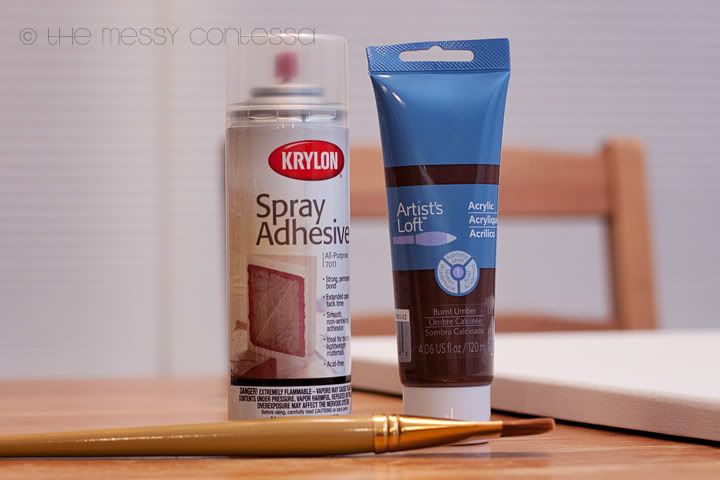
This is after one coat of the brown. I ended up doing two.
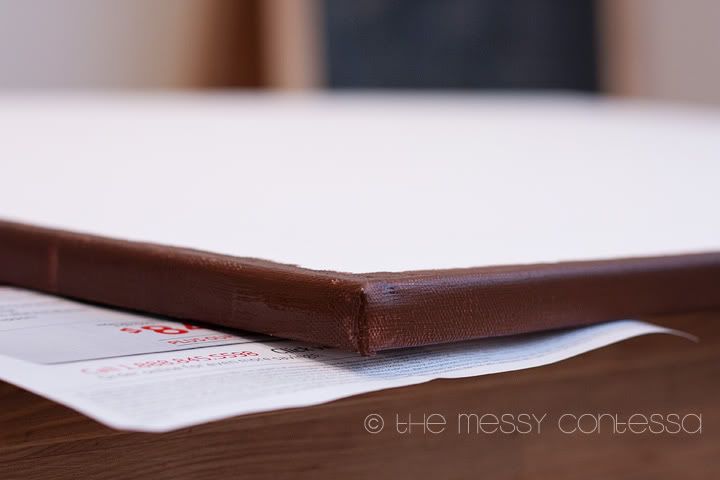
Make sure you bring the paint on to the front of your canvas just in case your paint chips don't line up perfectly to every edge.
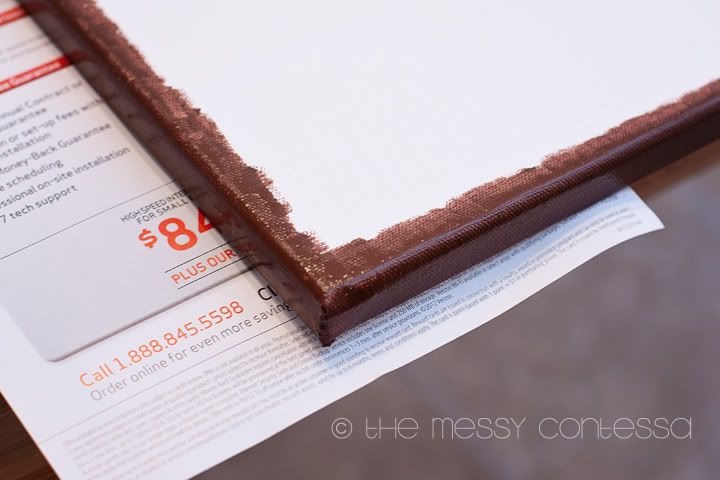
After that dries for a bit, you can start gluing down the paint chips. I started at the top left corner and worked down in a column. I sprayed my adhesive on the canvas and just pressed down. When it was time to spray for the next column, I covered my already glued paint chips with a piece of newspaper. I didn't want them getting all gunked up with glue.
All done!
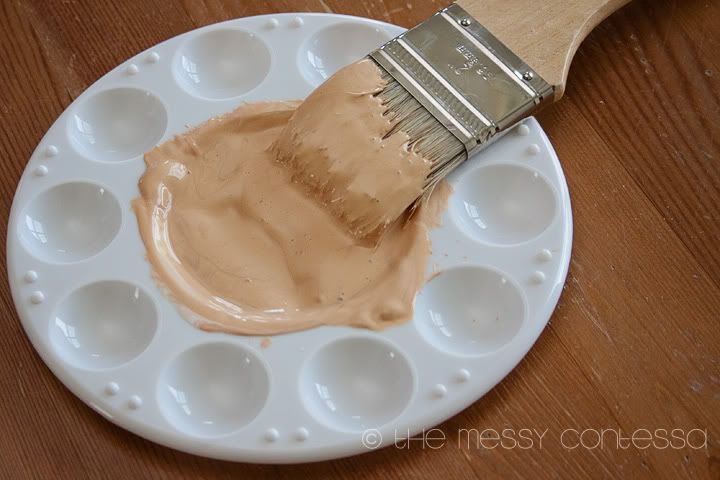
Pour Mod Podge all over and then spread it out evenly. I used a 2" wide paint brush and brushed in all different directions.
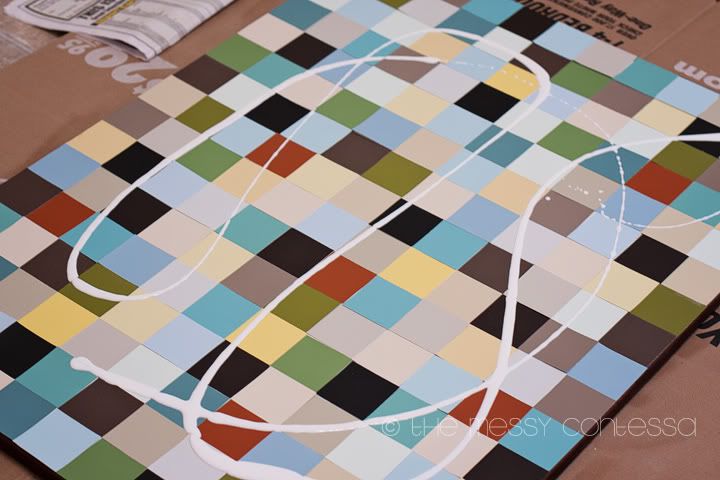
I like the texture of the brush strokes.
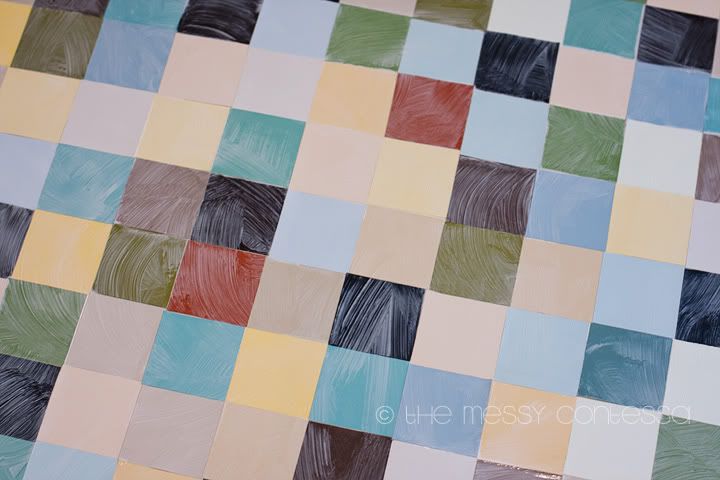
I ended up doing three coats of Mod Podge, letting each one dry for about 30 minutes before applying the next. Then, I let it dry overnight.
In the morning, it was time for the stain. I chose Dark Walnut Minwax.
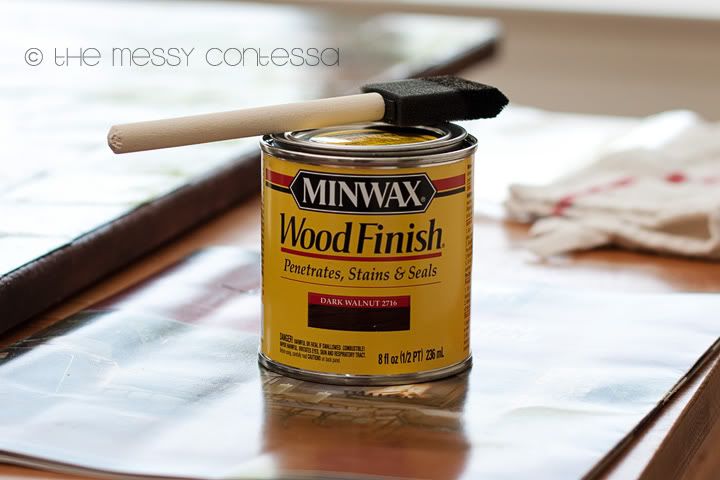
I don't know of a way to do this that isn't messy. I just poured some on...
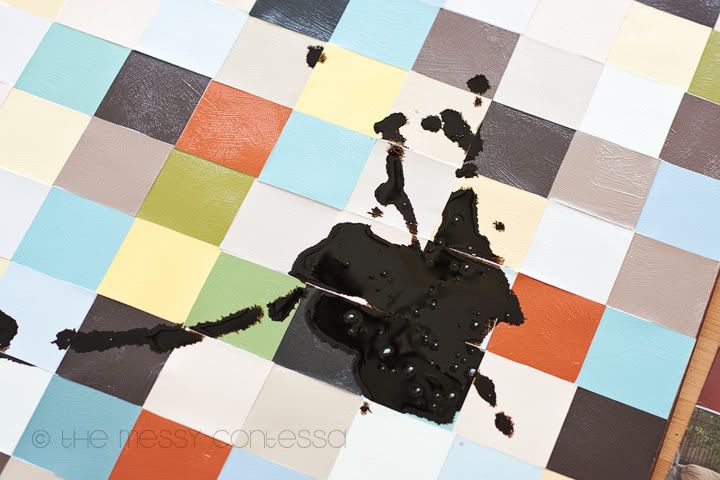
spread it out...
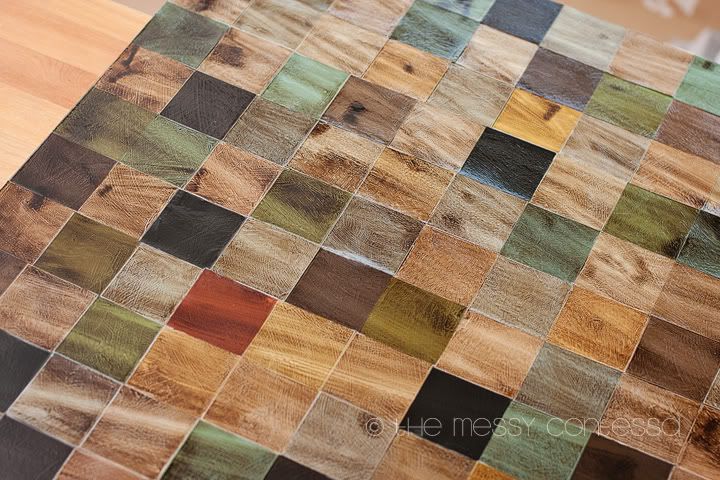
and then wiped it off. (I let the stain sit for about 10 minutes before wiping.)
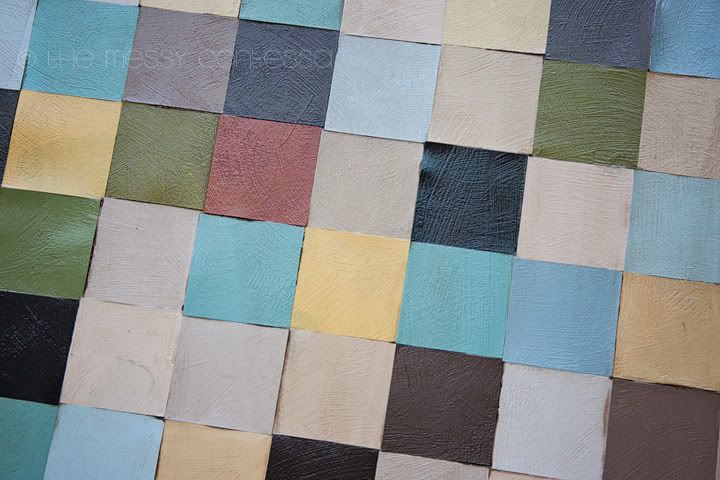
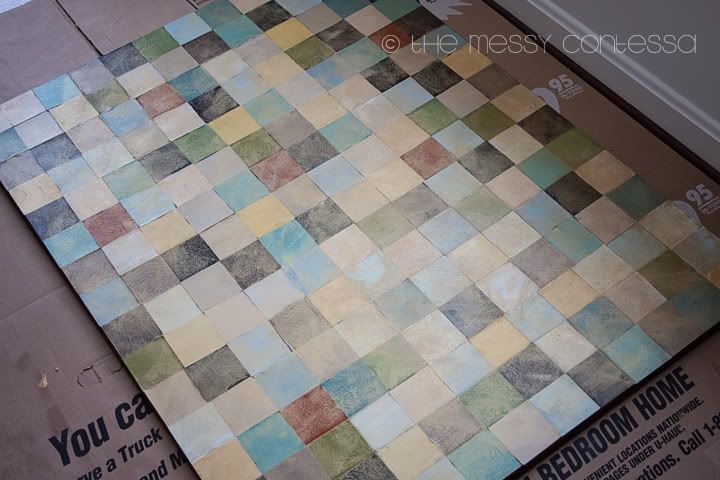
In the above photo, you can see how the stain settles in the spaces between the paint chips. It also accentuates the brush stroke texture. It just dirties the piece up a little. :) I did 3 coats of stain total.
Now it's time for the last step. I wanted a warm finish so I added gold metallic acrylic paint in with Mod Podge.
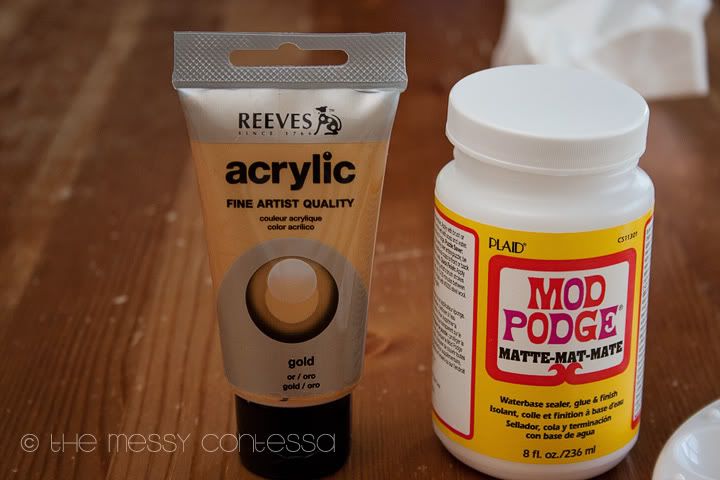
This photo shows a mixture of 2 parts Mod Podge to 1 part paint. It ended up being much too gold for my tastes. I added lots more Mod Podge to tone down the gold.
Covered in my golden Mod Podge and drying.
Tada!!! The statement piece in my still-very-bare living room. Not bad for a few hours worth of my time and less than $25! (I already had some of my supplies like the Mod Podge and used Michael's & AC Moore coupons to save also.)
Tuesday, May 15, 2012
My girl
starring in one of my most favorite images ever. ♥
I shot and edited this for Emma Wood's "Visualization" workshop.
Wednesday, May 9, 2012
Tuesday, May 1, 2012
Why The Messy Contessa?
For starters, it's my play on the name of a favorite famous chef. Clever, huh? I know...not very.
My name is Dana and this is my blog.
I love to be organized. DVDs are in alphabetical order, by category. The clothing in my closet hangs by type then color. I label pretty much everything. It's borderline obsessive.
However, when I cook or craft I make an absolute mess. Typically, it's complete destruction in my path. I don't know why, it's just always been this way. And so, I'm the Messy Contessa. :)
I'm also a wife and stay-at-home mom to 2 amazing kids. I like to make things, in the kitchen and everywhere else. Oh and I take pictures of most of it. My camera is my favorite toy.
This is my place to share it all.
Subscribe to:
Posts (Atom)